Knowing how to transplant cannabis clones without shock is mostly about timing and gentleness. Move a clone when its roots have filled the plug but before they circle, keep the root ball intact, plant into pre-moistened soil, and give it a few days of gentler light. Do that and most clones keep growing with barely a pause.
Key takeaways
- Transplant when white roots are visible around the plug, not before.
- Pre-moisten the new soil and water in lightly so the root ball does not dry out or drown.
- Step up gradually: a 1 gallon pot first, then 3 to 5 gallons, is easier than one huge jump.
- Lower light intensity and keep humidity around 60 to 70 percent for the first few days.
Signs your clone is ready to transplant
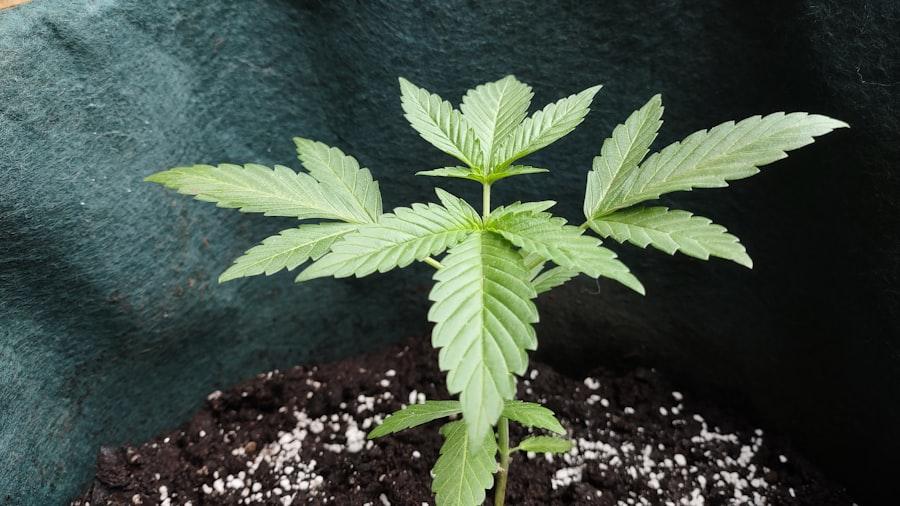
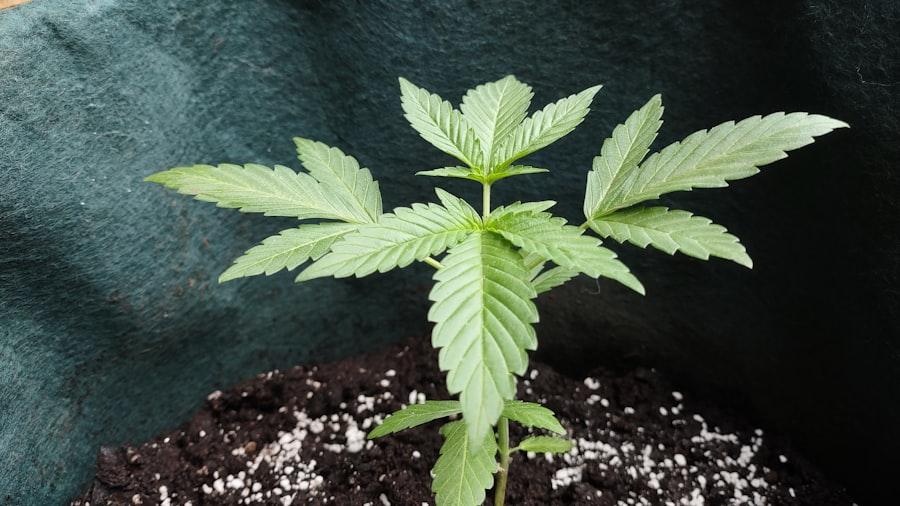
A clone is ready to move when roots are poking out of the sides or bottom of its cube or plug and the plant has started putting on new top growth. That new growth is the signal that the root system can support a larger container.
Waiting too long creates its own problems. Roots that circle the inside of a small pot become root bound, and the plant slows down, yellows from the bottom and dries out very quickly between waterings. If the plug dries out within a day under normal conditions, it is time to move up.
- White roots visible at the edge or bottom of the plug
- New growth at the top of the plant
- The plug dries out noticeably faster than it used to
Choosing pot size and soil
For most clones, a first step into a 1 gallon pot works well. After two to three weeks of vigorous growth, move up to a final container of 3 to 7 gallons for indoor grows, or into the ground or a large fabric pot outdoors. Stepping up keeps the soil volume matched to the root mass, so water is used before the soil stays soggy.
Use a light, airy potting mix with perlite for drainage. Soil pH between 6.0 and 7.0 suits cannabis; if you are growing in coco or hydro, aim for 5.5 to 6.5 in the nutrient solution. Avoid heavily amended hot soils for very young clones, since strong nutrient charges can burn tender roots.
How to transplant cannabis clones step by step
Prepare everything before you touch the plant so the roots spend as little time exposed to air and light as possible. Work in a shaded spot or with grow lights dimmed.
- Water the clone lightly an hour before so the plug holds together.
- Fill the new pot with mix and moisten it evenly until it feels like a wrung-out sponge.
- Dig a hole about the size of the plug or root ball in the center.
- Tip the clone out by supporting the base of the stem between your fingers. Do not pull on the stem.
- Set it in the hole at the same depth or slightly deeper, then firm the soil gently around it.
- Water in slowly around the stem with plain or lightly fed water until a little drains out.
Aftercare for the first week
For two to three days after transplant, give the plant slightly less light intensity than normal. If your LED fixture is dimmable, running it at 60 to 75 percent or raising it a few inches is enough. Keep temperatures around 72 to 80 F and humidity between 60 and 70 percent so leaves do not lose water faster than the roots can replace it.
Do not water again until the top inch of soil is dry and the pot feels noticeably lighter. Overwatering right after transplant is the most common reason clones stall, because roots need oxygen to grow into the new soil. Hold off on strong feeding for about a week; a mild root stimulant or quarter-strength feed is plenty.
What transplant shock looks like
Mild shock shows up as drooping leaves for several hours, slight curling, or a pause in new growth for a few days. That is usually nothing to worry about. More serious shock looks like leaves yellowing quickly, wilting that does not recover by the next light period, or stems turning soft at the base.
If your clone droops right after transplant, check the soil first. Bone dry soil means the root ball may not have been in contact with moist mix; soaked soil means it needs time to drain. Fix the moisture, keep light gentle and avoid any other changes until it perks up.
Transplanting teens and outdoor plants
Teen plants have larger root systems and handle transplanting well, but they still benefit from the same care. Move them into their final container or garden bed, water in, and give them a day or two of filtered light if they came from indoors.
Outdoors, transplant in the evening or on an overcast day so plants have the cool night to settle. Plants raised under grow lights need to be hardened off to direct sun first. If you are ordering for an outdoor run, The Clone Supply ships clones and teens nationwide with shipping included, so you can time arrival for your planting week.
Tools that make transplanting easier
You do not need special equipment, but a few basics make the job cleaner and gentler on the roots. Fabric pots are popular because they air prune roots and dry out more evenly than plastic, which lowers the risk of overwatering. Plastic pots hold moisture longer, which can help in very hot or dry rooms.
Keep a clean tray or tarp under your work area, a small trowel or spoon for shaping the planting hole, and a watering can with a gentle rose head so you do not wash soil away from the stem. Clean pots and tools between plantings to avoid carrying pests or pathogens from one crop to the next. If you reuse soil, refresh it with compost and perlite and check its pH before transplanting new clones into it.
Strains mentioned in this guide
Every strain ships free as a $70 clone or a $120 teen.

Frequently asked questions
Should I add nutrients when I transplant a clone?
Keep it light. Most quality potting mixes contain enough food for the first one to two weeks. A gentle root stimulant or quarter-strength feed is fine, but full-strength nutrients can burn new roots.
Can I put a clone straight into a 5 gallon pot?
You can, but it is easier to overwater because the small root ball cannot use all that moisture. If you go straight to a big pot, water only a small circle around the stem until the roots spread.
How long does it take a clone to recover after transplanting?
A healthy clone handled gently usually shows new growth within three to seven days. If there is no new growth after ten days, check root zone moisture, temperature and pH.
Is it okay to transplant during flowering?
It is best avoided. Plan the final transplant at least one to two weeks before you switch to a 12/12 light schedule so roots are established before flowering starts.
Found this helpful? Share it with a fellow grower.
This guide is general growing information, not legal advice. Results depend on your setup, and you are responsible for following the cultivation laws where you live.